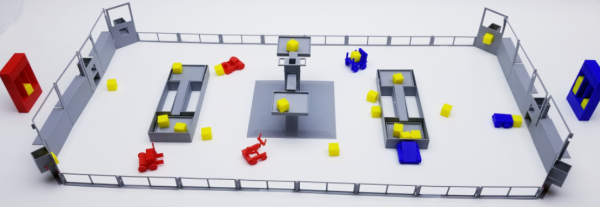
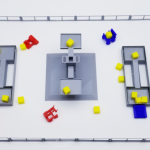
3D Printable, 1:20th Scale Model of the POWER UP Field
AutomationDirect’s animation team converted the animation models into 3D printable models for you to play with. This is the “playing field” for the FIRST Robotics Challenge (FRC) game for 2018. For more info about FIRST and the 2018 game: “POWER UP” – please visit the FIRST website.
You have seen the 2018 Game Animation, right?
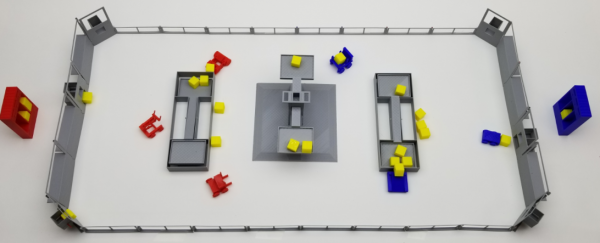
Printable Scale Model of the POWER UP Field – FIRST Robotics Competition (FRC)
CLICK HERE to download the models (SolidWorks and STL files)
These models are NOT intended to be accurate representations of the actual field – please do not use them for ANY game, rule or ‘build’ decisions. These models have been highly modified from the actual field drawings to make them easy to 3D print and assemble and to give the general appearance of the actual POWER UP field. To paraphrase from the Latin – Caveat Printor! – Let the printer beware!
All parts should fit together, but that depends heavily on your printer accuracy. Hopefully, they are close enough that you can file things down a little if needed. The examples shown here were all printed on an inexpensive, low-end RepRap 3D Printer – so any printer you have should be able to print at least as well.
NOTE: We are NOT CAD experts, so if you see ways to improve these PLEASE do so and send us a copy. Let’s make this a community project!
Print settings we used for all items:
- 0.2mm layers
- Shell .4mm
- Top and bottom .4mm
- Fill 20%
- PLA: extruder 190, bed 60
- No supports (except the Exchange and portals)
While we have your attention 😉
Have you used your AutomationDirect $35 Kit-Of-Parts Voucher yet? You know – for the real-world robot! If not, have your lead mentor log on to the FIRSTinspires dashboard to get your team’s voucher code – THEN follow these simple (BUT IMPORTANT) instructions to activate and use your voucher. We’ve got thousands of parts that can be used to help build your ‘bot. Check that link for a list of products that are popular with FIRST teams.
Assembly Instructions:
Field Perimeter Assembly
Print the following items:
Qty Item
6 Driver Stations – face down
2 Exchanges – face down with supports
4 Portals – face down with supports
16 Side Rails – face down
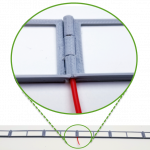
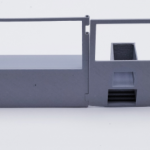
Step 1: Assemble Two Driver Station walls face down using 1.75mm filament as pins
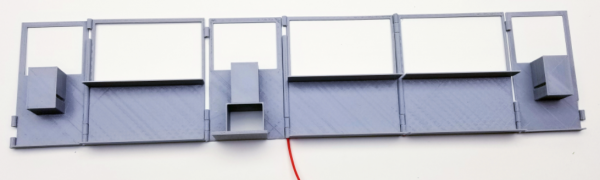
POWER UP Driver Station Assembly
Insert enough filament to span the hinges (don’t need to go all the way up the wall). Trim excess filament off. No need to glue it in place.
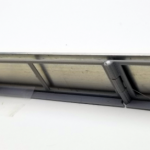
Assemble side rails using the same technique:
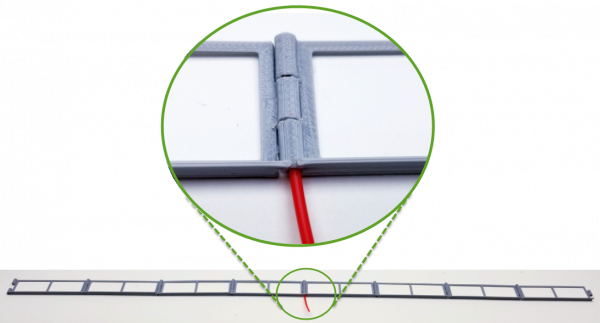
POWER UP Side Rail Assembly
Stand both driver stations up and bend at portal hinge points to create field geometry.
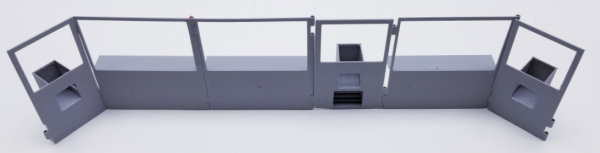
POWER UP Driver Station Complete
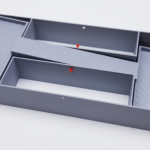
Insert final pins between portals and side rails (I’m using red so it is easy for you to see).
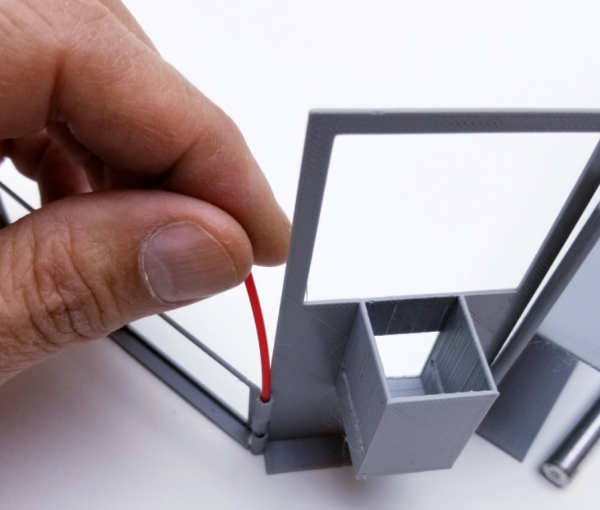
POWER UP Perimeter Assembly
Use a straight edge to align side rails and tape or glue side rails to surface (angle aluminum works well for this):
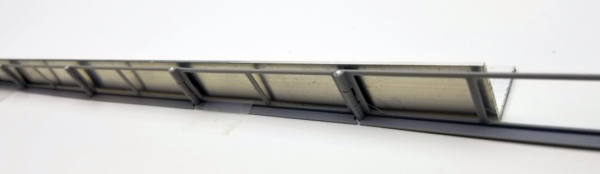
POWER UP Side Rail Alignment
Field Perimeter is now complete
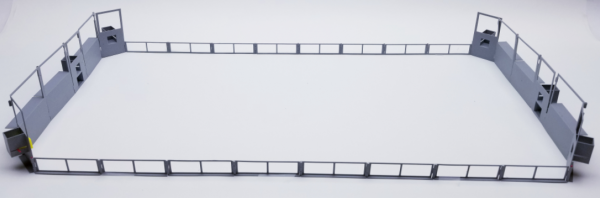
POWER UP Field Perimeter
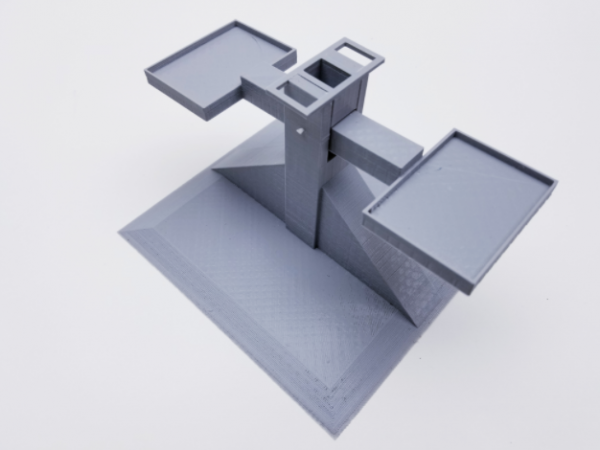
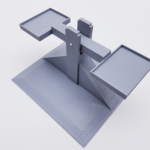
Switch Assembly
Print the following items:
Qty Item
2 Platforms – upright
2 Switch Cages – upright
Holes are intentionally undersized so you can use a large paper clip. To use filament as the pivot carefully drill the holes out. Insert pin and secure by squishing the filament, or gluing or melting at the cage with a soldering iron
POWER UP Switch Assembly
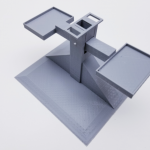
Scale Assembly
Print the following items:
Qty Item
1 Platform – upright
1 Scale Base – upright
1 Scale Hanging Bar – You may need to invert this to print it without supports
Assemble the platform just like the switch:
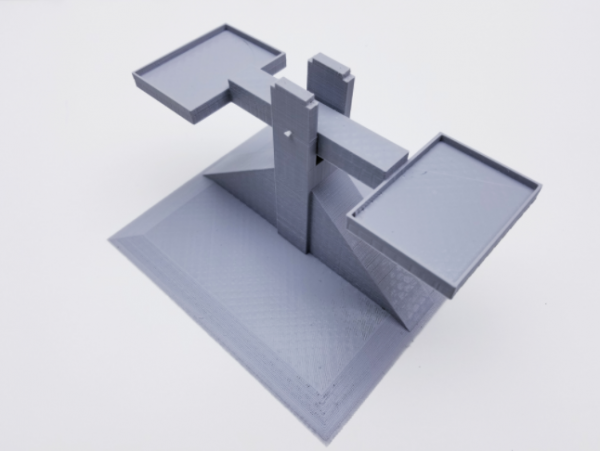 POWER Up Scale
The hanging bar should be a press fit:
POWER UP Scale with Hanging Bar
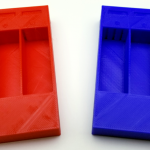
Vaults
Print them laying flat on back
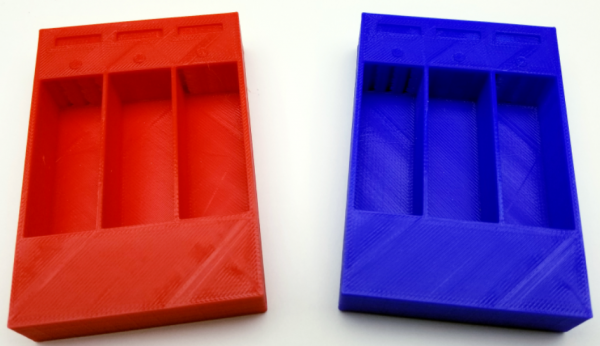
POWER UP Vaults
Power Cubes
Just print them. You will need 70 to fully populate a field. Note that they are shorter in height than in width or length.

POWER UP Power Cubes
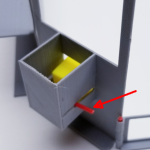
Field Notes:
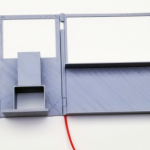
- The exchange and the Feeder Station both have a slot for a push bar to eject the cube. We just us a piece of filament for that, but you can make something more suitable if you want (send us a copy!):
- The exchange is tough to 3D print – let us know if you see an easier way to do it.
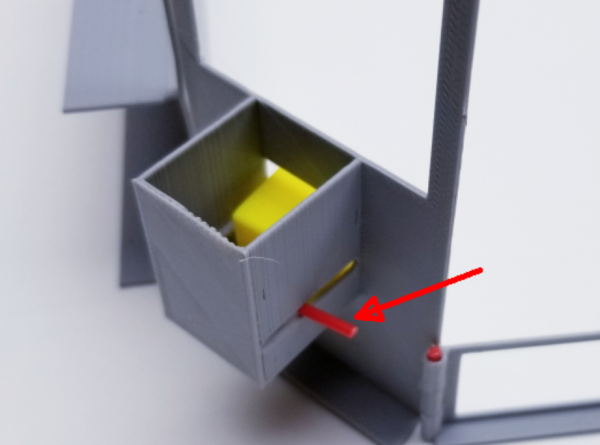
POWER UP Exchange
Enjoy!
Please let us know what you think and if you can show us a better way to do this!
You can reach us by e-mail:
educationalcontacts@automationdirect.com
Or on Chief Delphi:
Rick Folea: user: rfolea
Chip McDaniel user: only1chip
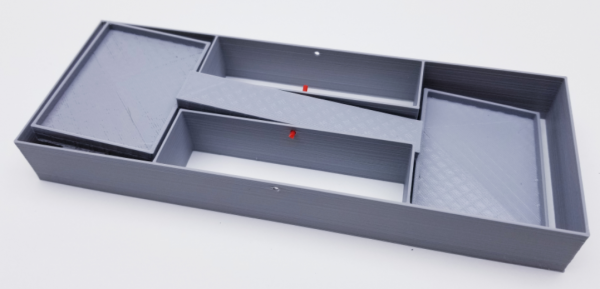
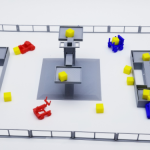
Additional Photos:
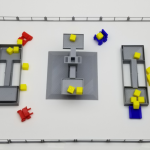
POWER UP Completed Print 1

POWER UP Completed Print 2
And here is a gallery, with all the images:
-
- Printable POWER UP Field
-
- POWER UP Driver Station Assembly
-
- POWER UP Side Rail Assembly
-
- POWER UP Driver Station Complete
-

- POWER UP Perimeter Assembly
-
- POWER UP Side Rail Alignment
-

- POWER UP Field Perimeter
-
- POWER UP Switch
-
- POWER Up Scale
-
- POWER UP Scale with Hanging Bar
-
- POWER UP Vaults
-

- POWER UP Power Cubes
-
- POWER UP Exchange
-
- POWER UP Completed Print 1
-
- POWER UP Completed Print 2